Today I’m reviewing the Motorola Moto G Gen 2 (2014 version) smartphone.
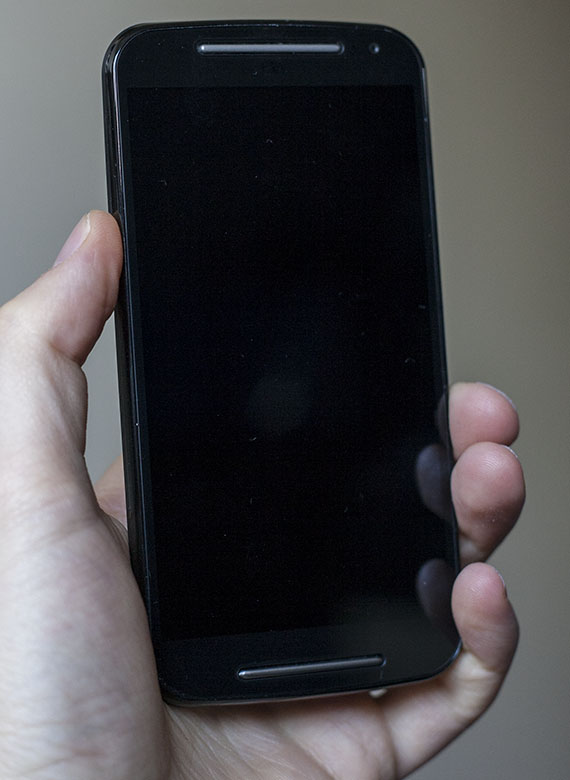
At under $200, the Moto G is a budget phone, but it can easily compete with phones twice its price in many ways. From the 5 inch IPS screen and dual sim option, to the smooth running stock android and excellent battery life, it feels and behaves like a high-end phone.
There is a lot to get excited about with the Moto G, like the excellent performance, call quality, built in apps, forward facing speaker quality, connectivity etc, etc. Instead, I’ll mostly focus on stuff that I find personally most interesting, like the camera and some of my experiences with overall usability.
Before I dive in, I want to briefly mention something about my previous phones just so you know where I’m coming from.
I tend to wait a loooong time before upgrading most of my hardware, so by time I got my hands on the Moto G, I was roughly five years behind the times, which in the world of smart phones is equal to living in the stone age. My previous phone was the HTC Legend, a great performer in 2008, but not so much in 2014. After five years of use, I found myself fighting more and more often against issues like apps that stopped working, and a battery that went flat in a matter of hours. On stand-by.
I tried using the Palm Pre for a while, and I found Web OS to be the most usable and intuitive operating system that I’ve ever tried. The hardware of the Palm pre was sub par though – even older then the HTC Legend – and there were very few apps that worked at all. No matter how good the OS was (or is), lack of a decent gmail, maps, spotify, twitter, or calendar app made it ultimately useless for every day use.
Considering how compact both the HTC Legend and Palm Pre are, the Moto G’s five inch screen was a huge change for me. Browsing and texting suddenly were a whole lot more manageable, although the missing menu button, and missing scroll ball did take away from the improvement somewhat.
Without a tactile menu button at my disposal, I often found myself tapping around in apps on empty area’s of the screen, trying to guess where a menu could be triggered, if one was there at all. It feels a bit like playing a kind of adventure game, and it’s pretty stupid. I see no advantage of losing the menu button.
I also miss the scroll ball from my old HTC Legend. I used to be able to tap the screen on a line of text and use the scroll ball to pin point the spot where I wanted to copy/paste/edit/etc. Now, all I can do is tap, tap, tap, until I am able to hit the tiny little spot that I want to “cursor” to go to. It makes editing text more cumbersome, especially when it comes to making small changes inside long url’s.
And even though the screen is absolutely stunning to look at, its size makes the phone feel a little awkward in my (fairly large) hands at times. I notice it mostly while operating the phone with one hand, or making a call. I can still get everything to work, but it just feels a little odd.
Oh, and one final nitpick is about the Android status bar, which can be unresponsive at times. I find myself tilting the phone to panoramic view in order to pull the status bar down, once or twice a day.
The Moto G camera is a huge leap forward from to my old HTC legend. It has high image quality, quick burst speed, Manual focus and lighting select, panorama, HDR, slow motion video, and a front facing cam. Nice.
When the Moto G was released in 2013, it already featured a decent camera for its price range. At 5 megapixel, the images were nice, although not spectacular. In the second generation 2014 model, Motorola upgraded the camera to 8 megapixel, bringing it in line with the mid/high end competition. The f2.0 lens can deliver a nice depth of field if you can get close enough to your subject. This is a welcome change, coming from an older phone which tended to get the foreground and background equally sharp. Paired with a well designed camera app, the Moto G is a pretty sweet photographic tool, and I think that the camera is the main reason why people should choose the second gen Moto G over the first gen version.


For some reason, I couldn’t find any documentation on the focal length of the lens. It’s a little wider then the first gen Moto G, which was 30mm ish. This is not the kind of detail that manufacturers should be stingy about, considering how close smartphones compete with compact camera’s. This is the kind of data I’d love to be able to easily compare, when choosing to buy one of these devices.
I really like having the option to make HDR pictures with the phone, rather then creating them in post-edit. It saves me lots of time and the out-of-the-box results are better then I expected.
HDR mode is either turned ON, OFF, or Auto, in which case the phone choses whether to enable the mode or not. Since HDR pictures take a second or so to save, you probably won’t want this mode to be activated all the time.
In the best case scenario, HDR results in rather stunning photo’s.
The halo’s around dark area’s can be a little strong, but overall, it’s a really good result. I would have had to shoot a burst of images, find the best ones in post-processing, and merge them together in Photoshop. Now, I can have get the same result on the spot and share it to friends instantly.
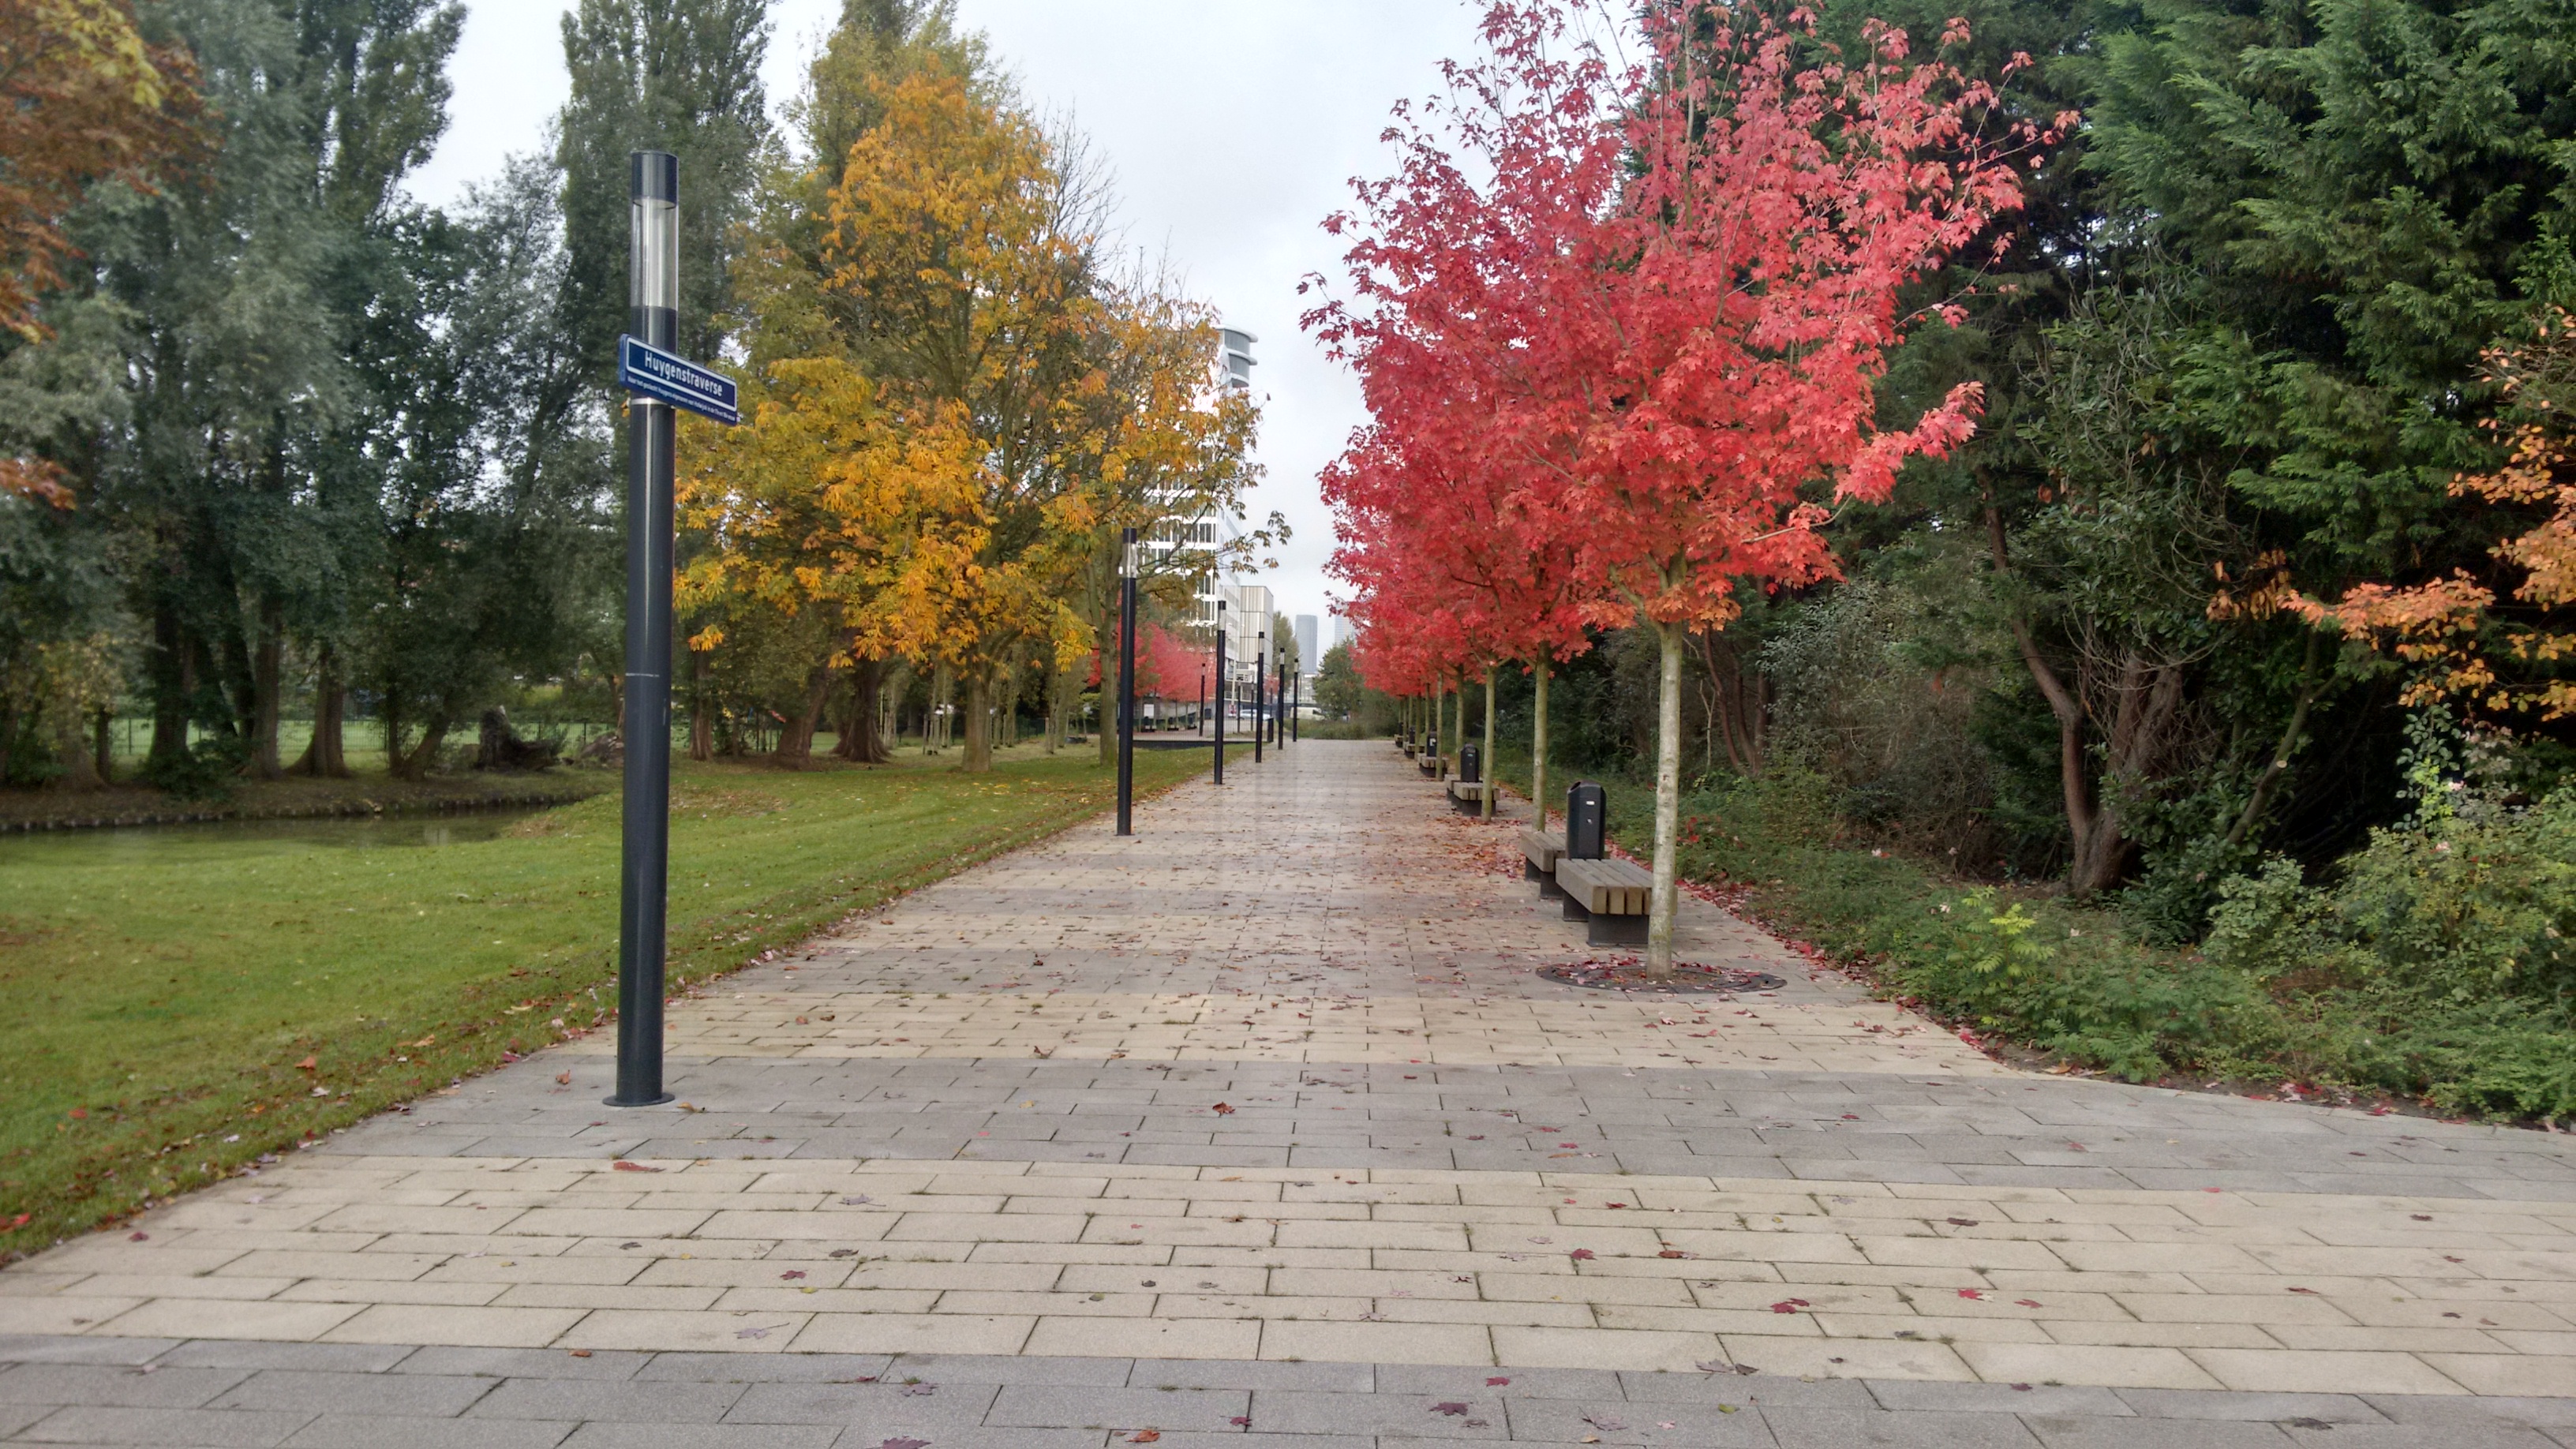
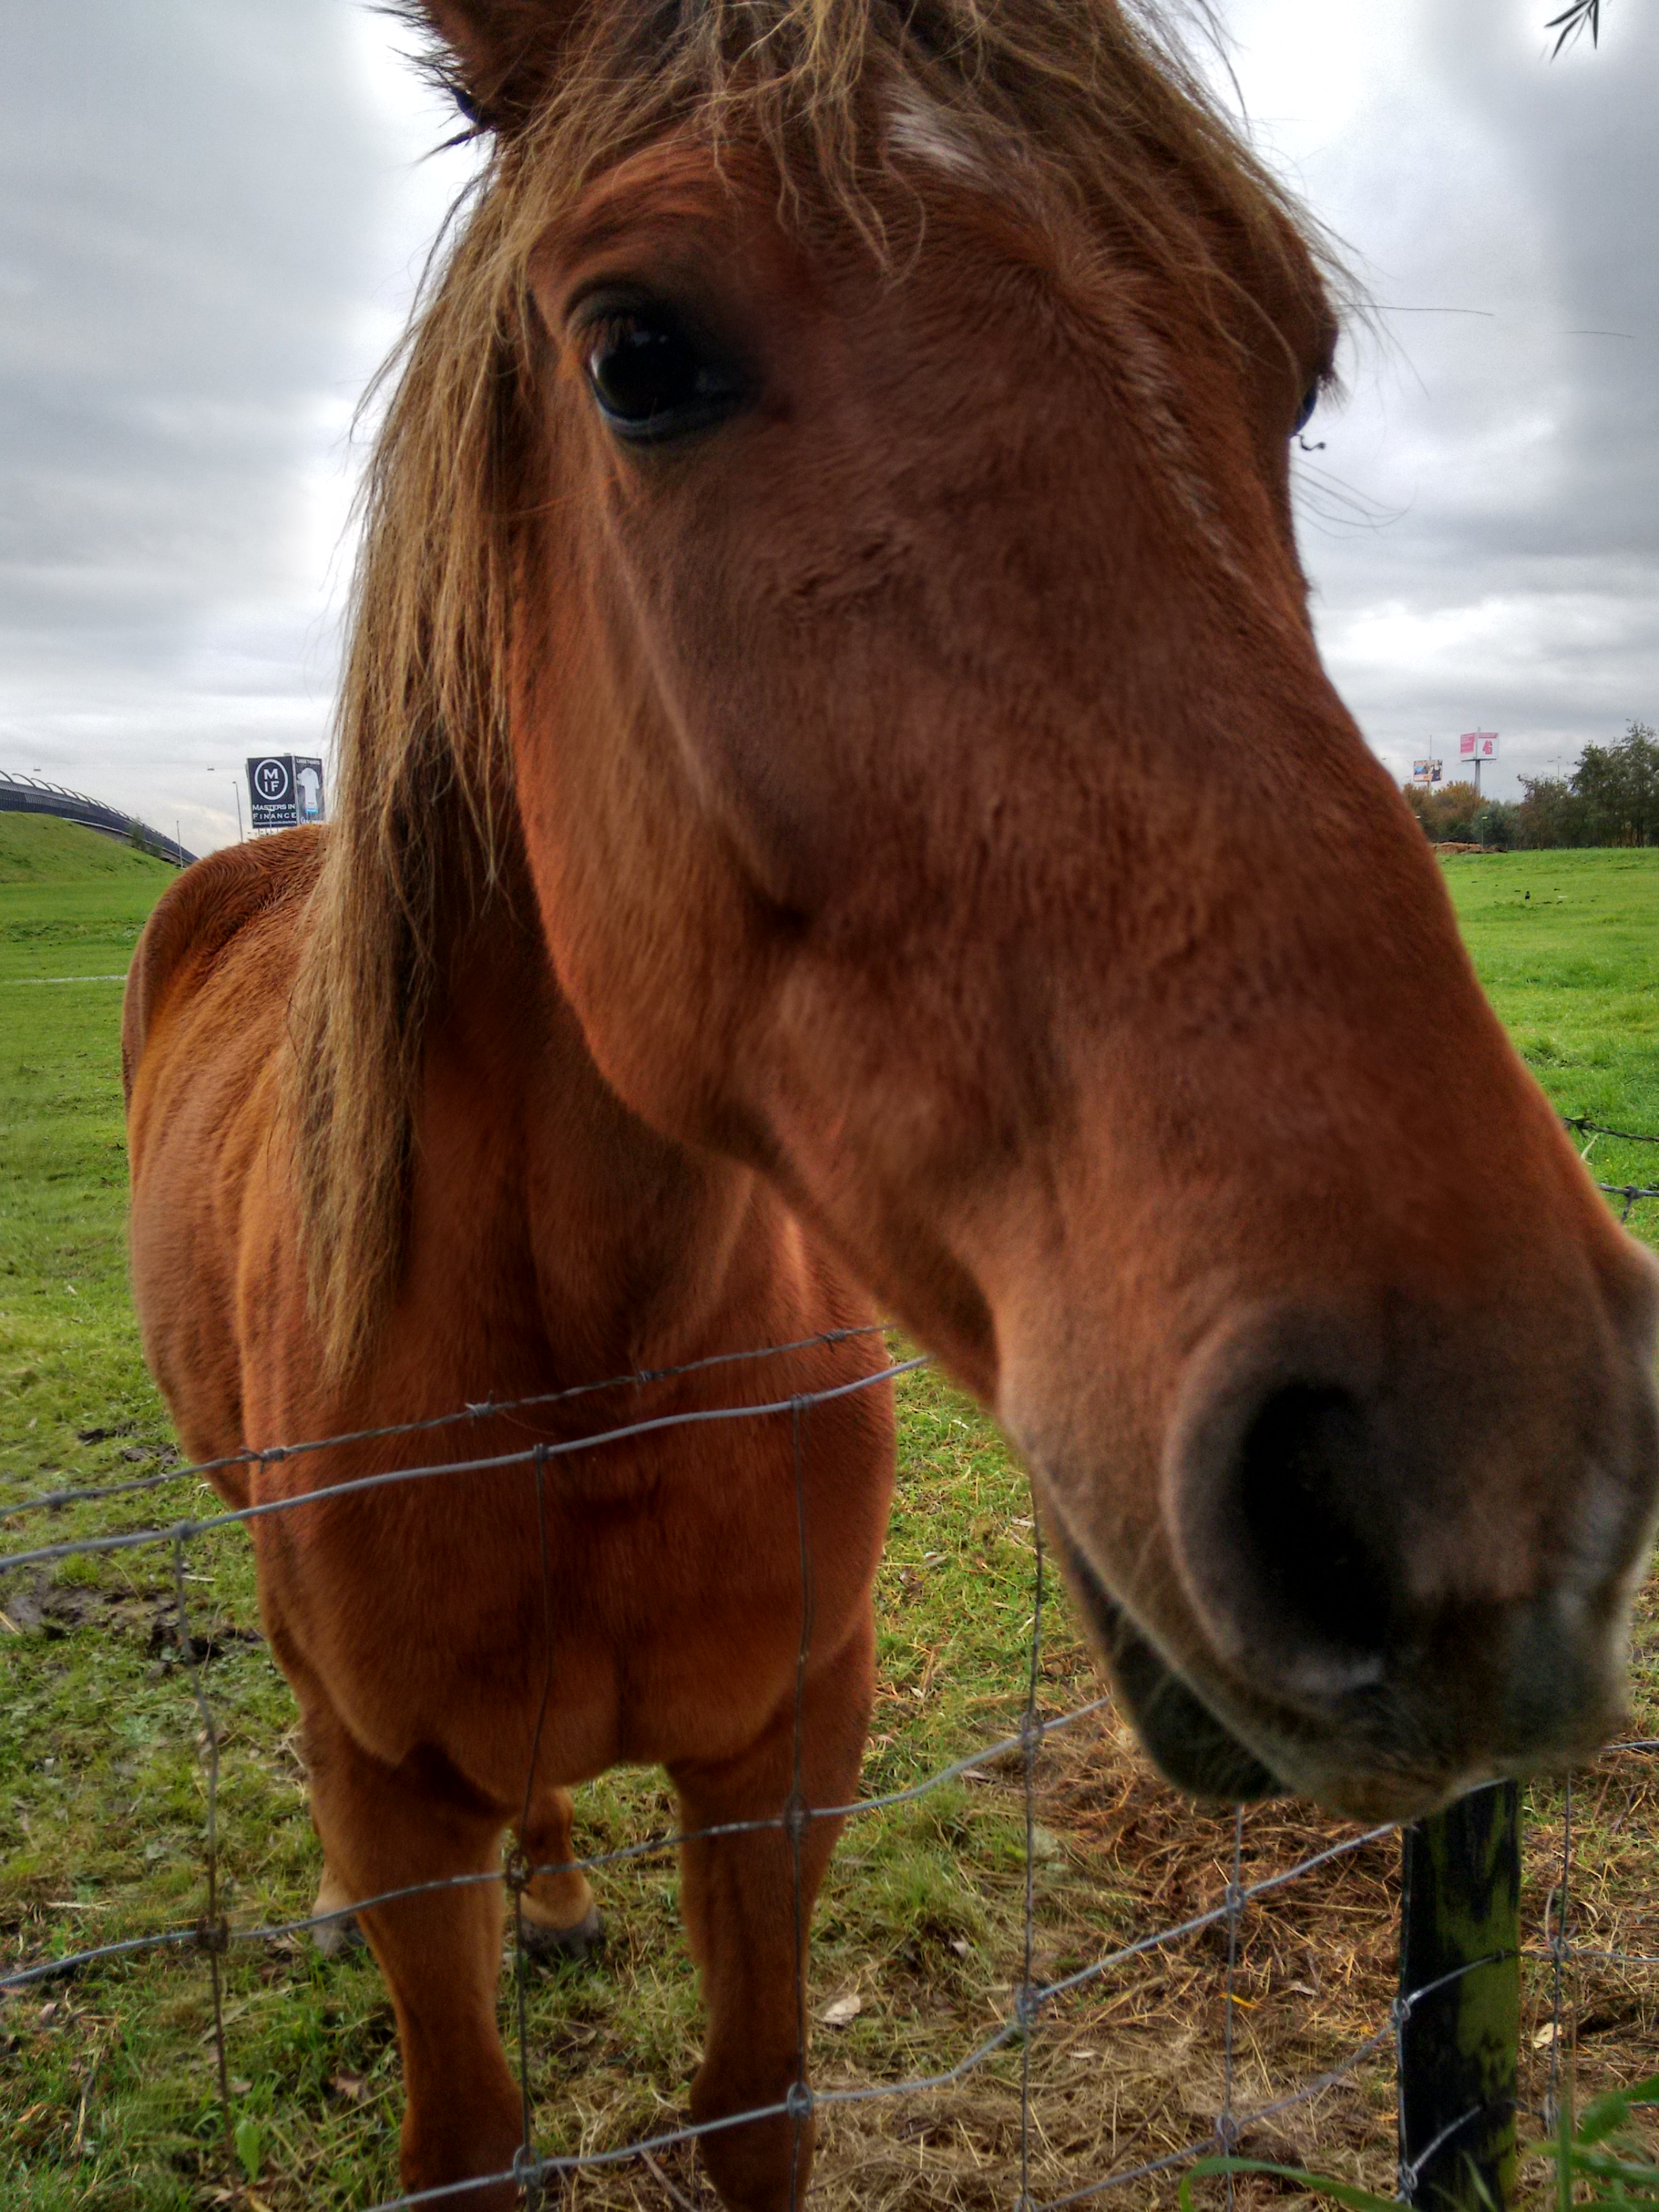
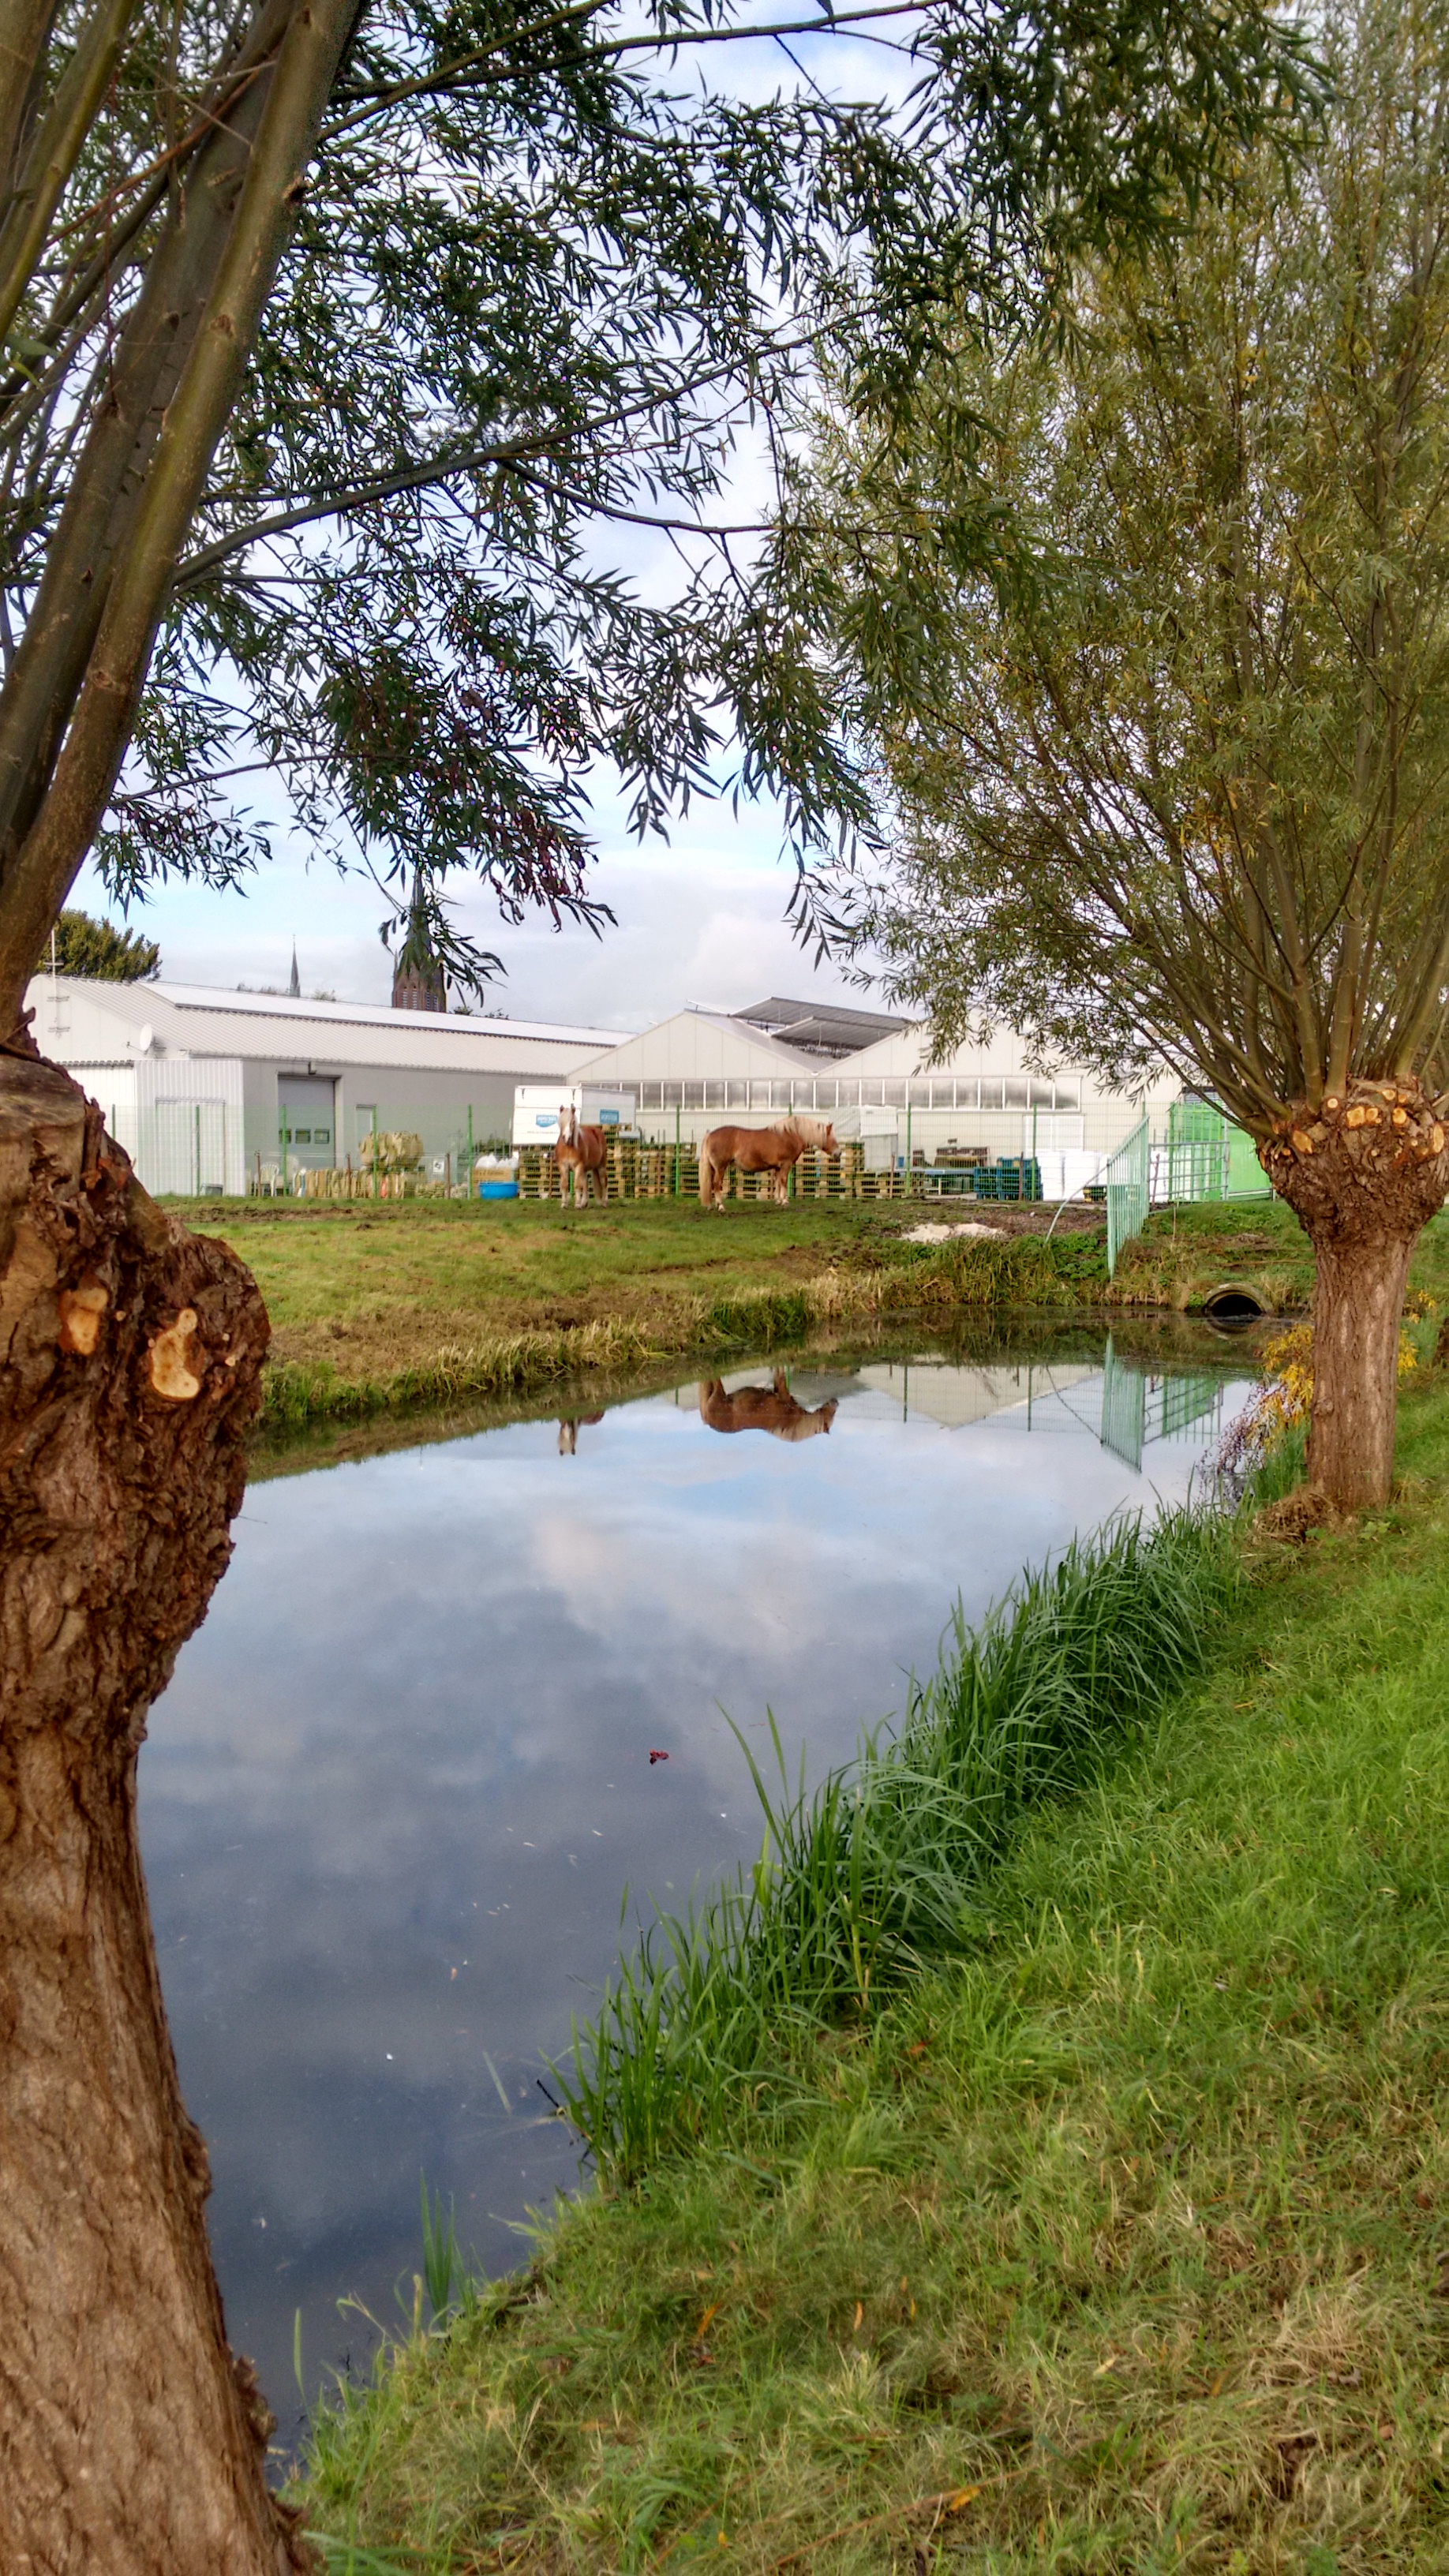
I think that the HDR mode is especially useful for bringing back blue skies to pictures that would otherwise have a sheer white top half. The image’s below showcase this pretty well. The picture on the left was taken with HDR turned off and has a typical over-exposed sky. The picture on the right was taken with HDR on, and has a blue, cloudy sky as well as slightly richer colors and some halo’s around the horse.


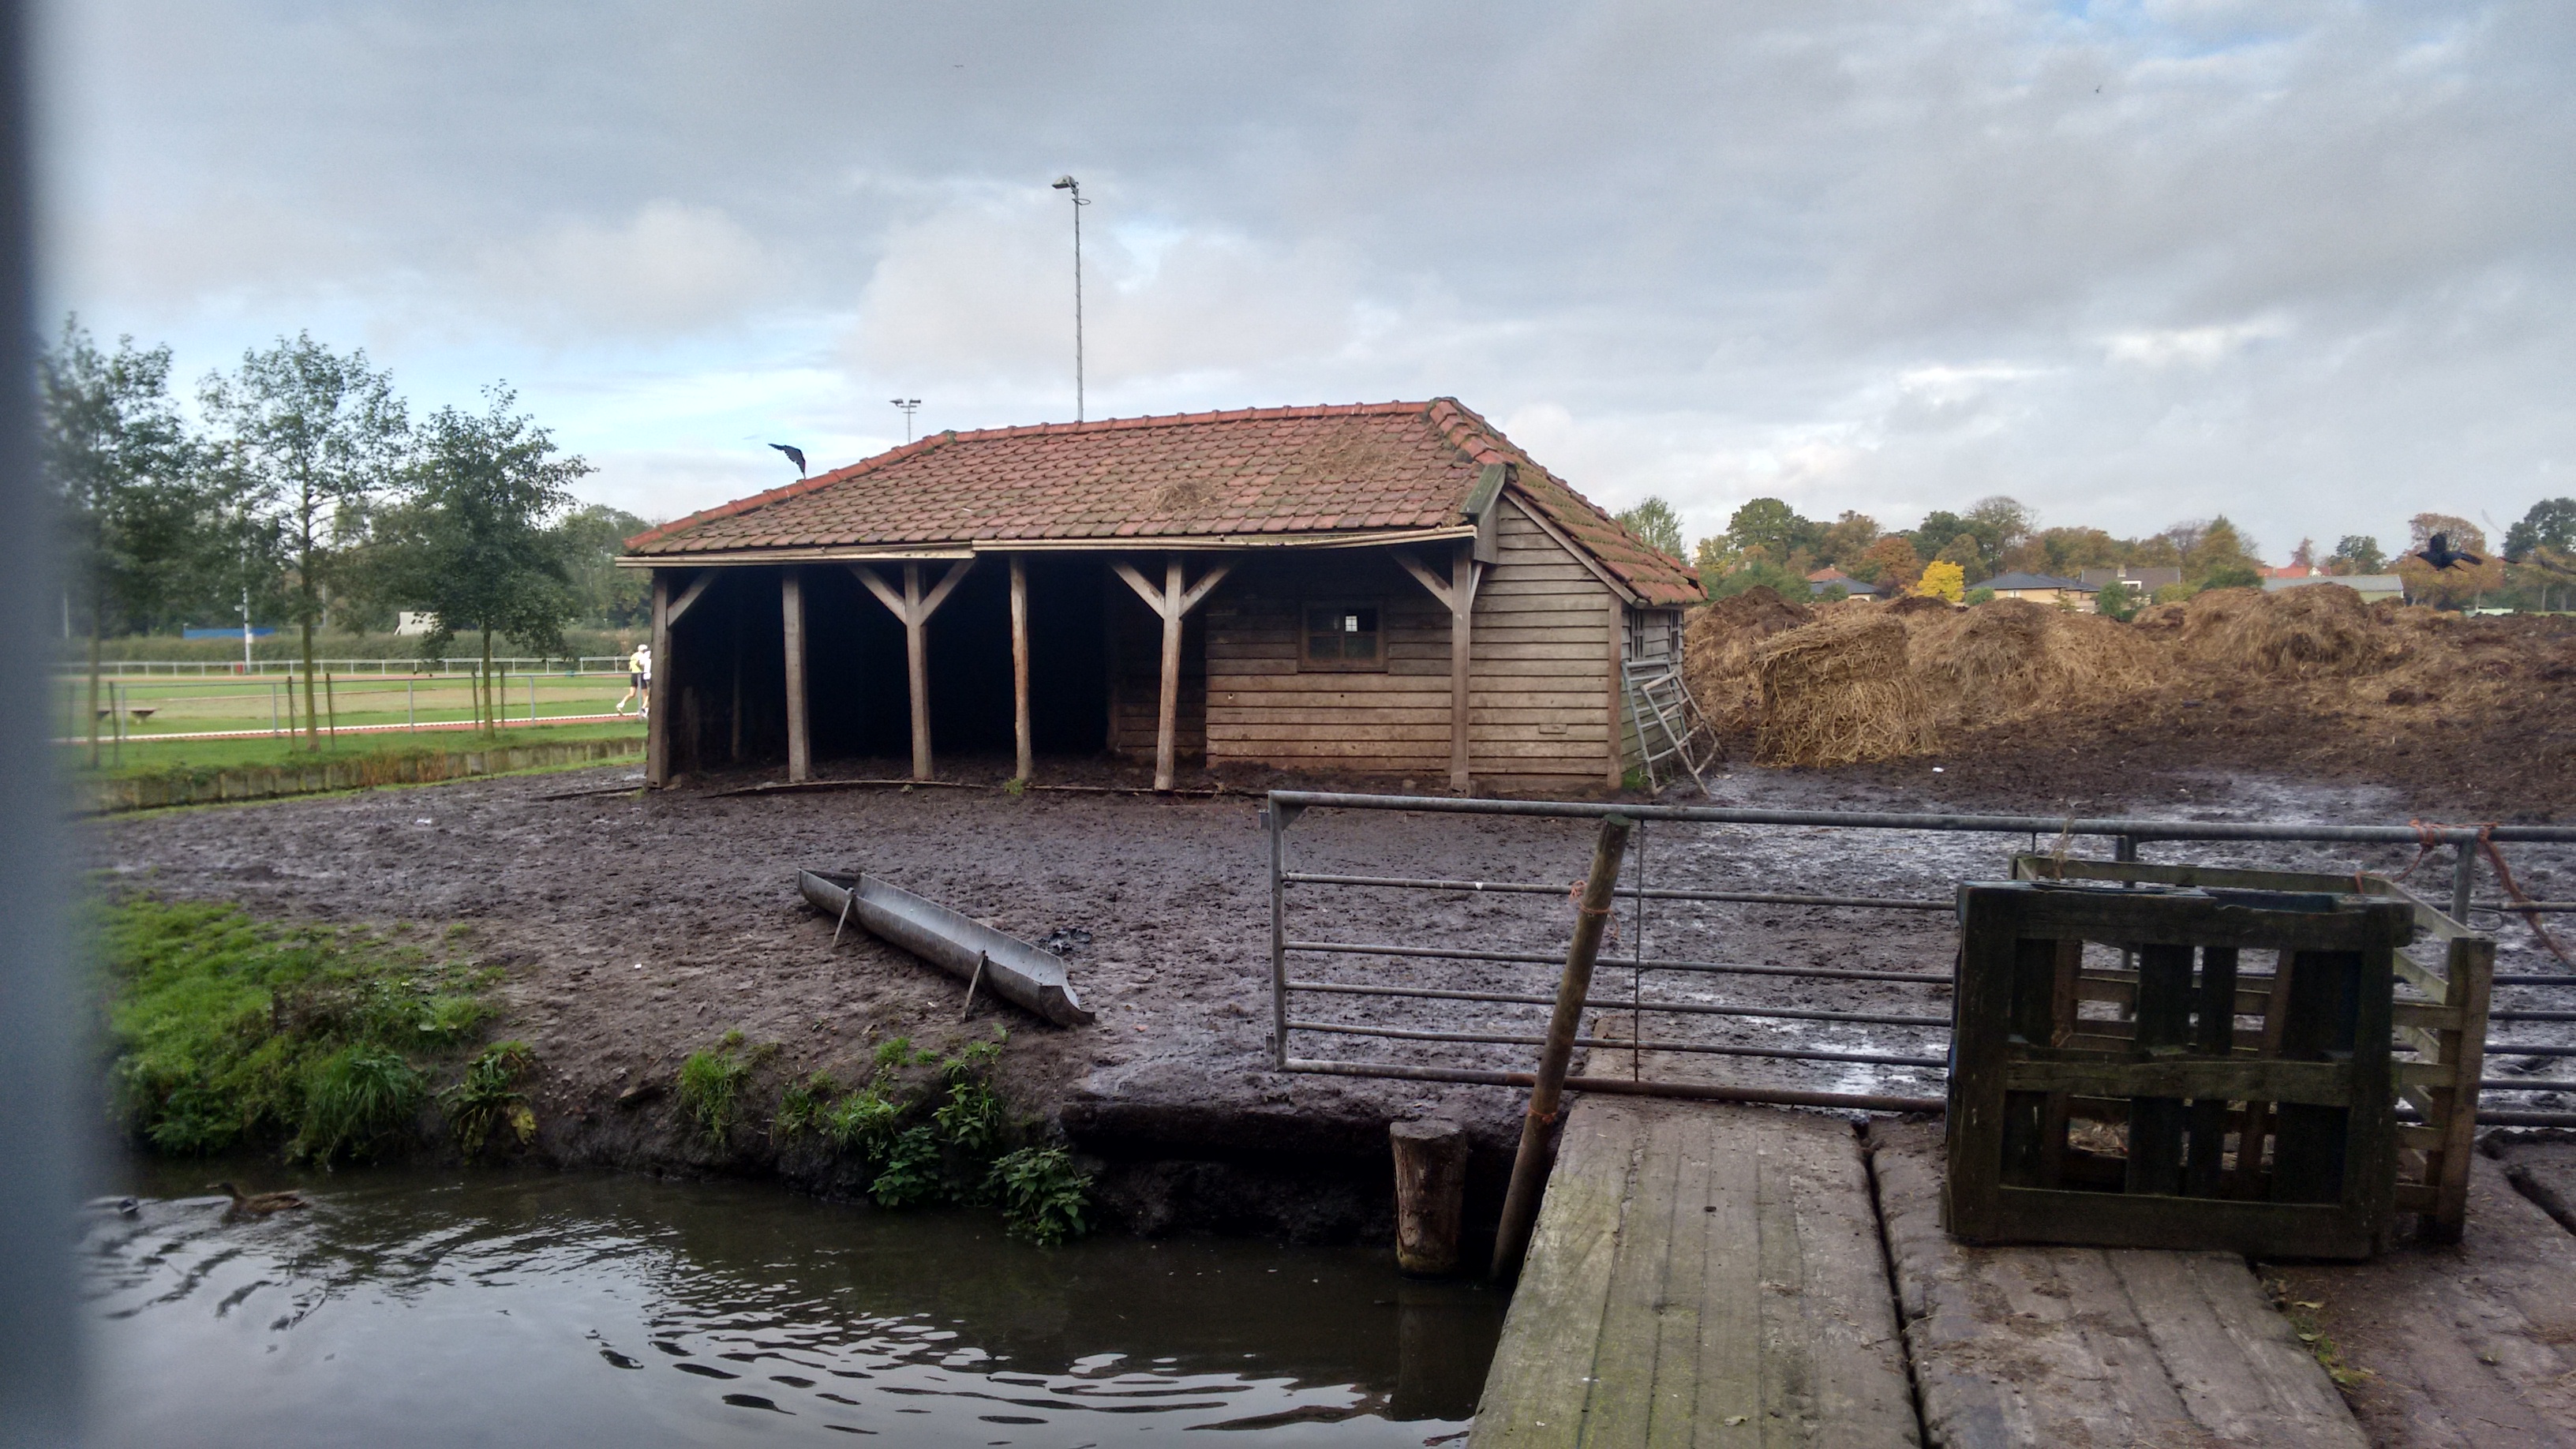
You won’t always need HDR to improve the picture as you can see in the image below. Because of the kind of things that are in the photo, HDR doesn’t add much to the end result. The dark area’s are just very slightly brighter, and the light area’s a little more colorful. I actually like the non-HDR image better, as it looks more natural because of the shadows.

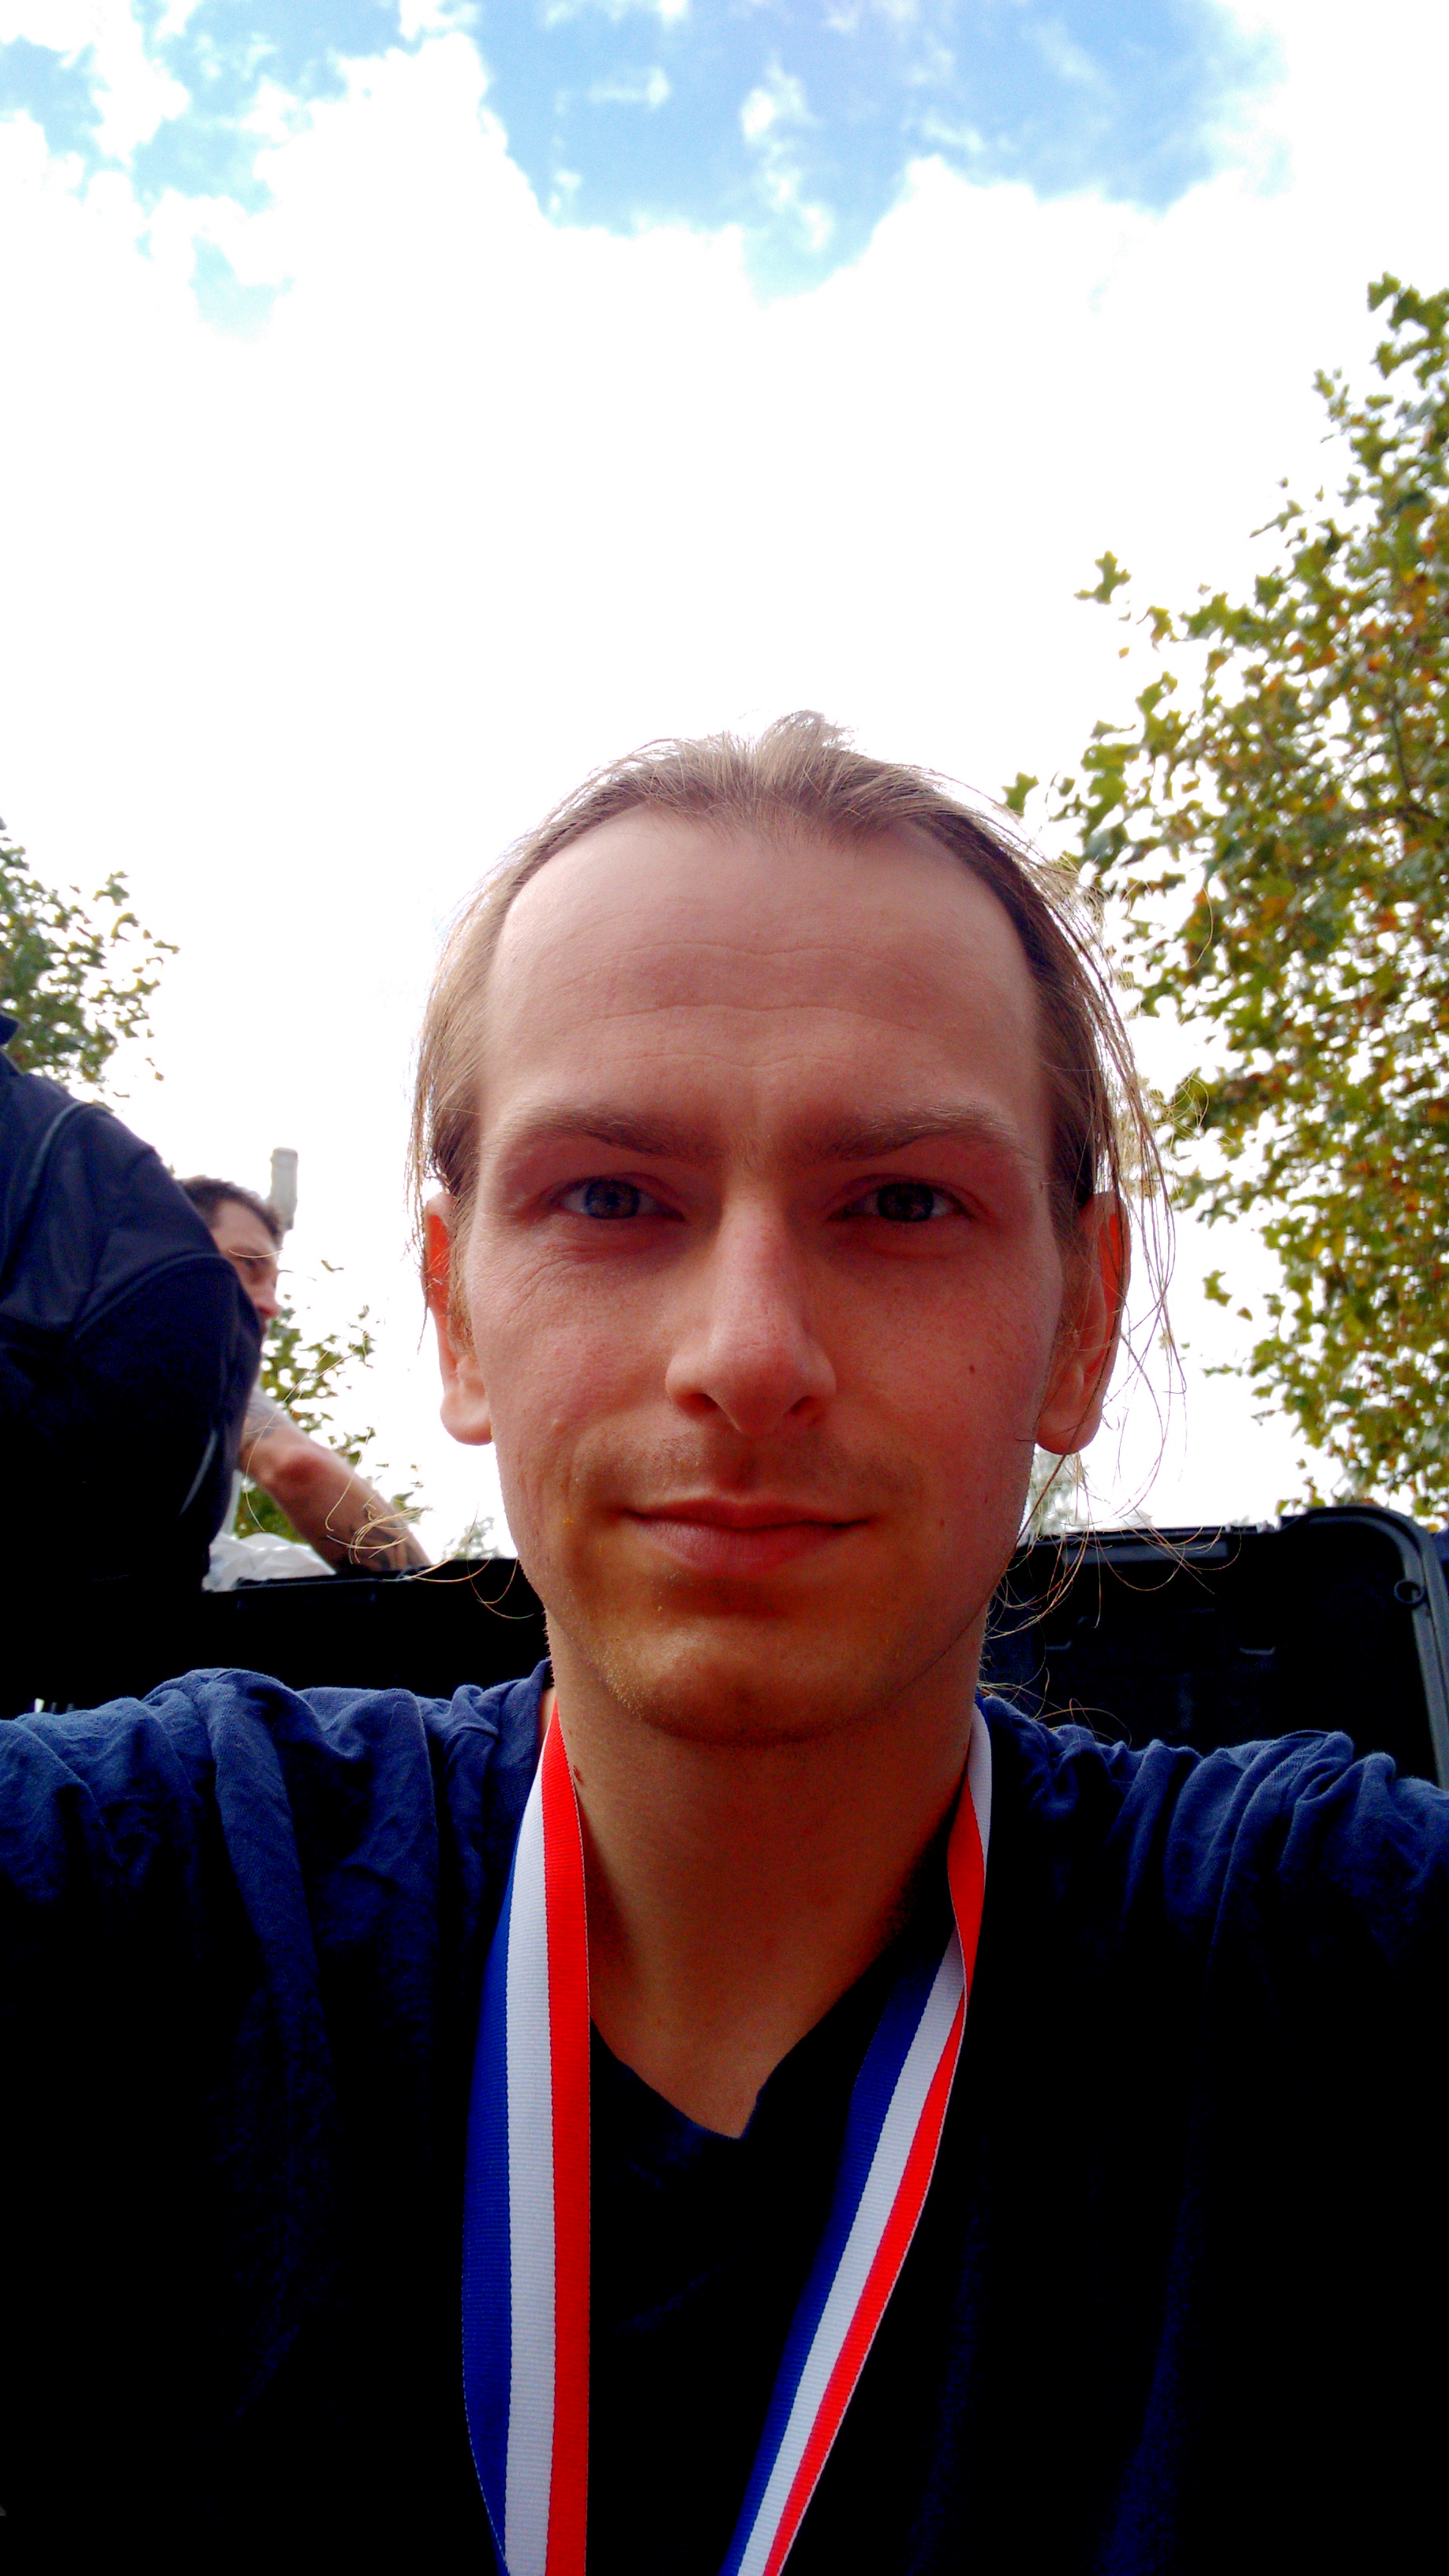
I find it hard to predict the results from HDR photo’s. I took the below images right after finishing the Amsterdam half marathon.
The image on the left was shot using standard shooting sessions. The sky highlights are completely blown out, and my skin is a little red-ish but otherwise accurately lit.
The image on the right was shot using HDR, and you can see that the Moto G was able to get a pretty blue sky in there. Unfortunately, my skin has turned gray in the process, and my face seems to be lit from below, as if someone was holding a flash light there. Rather then looking better overall, the HDR image mostly looks a little strange.

The Motorola camera app offers a useful feature for manually selecting an area on the screen for light measurement. I like that the area of measurement is small, because it allows me to really accurately get the exposure that I want. Most of the time, I will start by hovering over the main subject of the image (a person, or house, or whatever), and then slowly drag the focus circle outwards until I hit the edge where my subject meets the bright sky.
In the Motorola camera app, all you have to do is to hold down your finger on the screen, and the phone will start taking pictures until you let go. The Moto G will capture something like three images per second, and I haven’t ran into buffer limits even after shooting thirty photo’s.
Just like is the case with HDR images, panorama shots used to be something that I would have to stitch together semi-manually in Photoshop during post processing. Off course the traditional approach would yield better results, but being able to just shoot a panorama on the spot and share it with the world instantly, is a really cool feature.
On the downside, panorama’s are saved as surprisingly small files, usually around 2000 pixels wide and 500 pixels high. The Motorola camera app expects you to make the panorama’s quite wide, 180 degree’s or so, which is more then I’d usually need. Considering that you’ll be moving the phone for such a long distance, it’s easy to tilt it a little while moving around, which results in unexpected curvatures at the horizon, and some artifacts here and there.
One final thing is that you have to explicitly click a save button to store the panorama photo. This is different from normal photo’s, which are simply saved right away, so I don’t think that this extra step makes much sense. I’ve already lost a few images by clicking around too fast.

It’s possible to download the Google camera app which adds more panorama options, like the ability to shoot in a square (instead of just horizontal), as well as creating an entire dome image.
I wouldn’t recommend it over the Motorola camera app for default use though, because of some questionable design choices. First of all, there is the limitation of no longer being able to shoot video in portrait mode. I get that there is a whole movement against portrait mode video’s, but I don’t see why Google would want to limit every user who isn’t on board of this nonsense fad.
Second, the app hides the Android menu buttons when you are shooting, preventing any kind of easy back and forth navigation between other apps, or even different options inside the app itself. This feels no less useless then a website that would hide the browser back button, the windows start button, while disabling alt+tab functionality. This is one of the reasons why I prefer physical buttons over software buttons. People are just too easily tempted it mess these up.
The front facing cam has a 2MP resolution, and delivers very reasonable image quality in bright conditions. Video is recorded in 720p, but without the option to do slow motion. And speaking of slow motion…
The Motorola camera app makes it easy to select the slo-mo option from the settings. Just swipe from left to right before filming, and toggle the slow motion feature in the settings wheel.
I’ve read that the phone shoots video at 60fps and then plays it back at 15fps, though I assume there is some kind of tweening going on, since the video looks very smooth.
My model came with 8 Gigabytes of of space, which filled up with video quicker then I expected. I believe there is a 16GB model of the Moto G, but it’s probably more economical to buy your own micro SD card. I found a 32GB for just over 20 euro, which gives the phone a lot more breathing room. Installation is surprisingly straight forward. I only needed to remove the back and click the card into place. The phone didn’t need to be restarted, and immediately asked if it should transfer all Movies, Files and Photo’s to the newly inserted card.
The Moto G is an excellent performer that is only going to get better with a rapid Android 5.0 update by Motorola. I would recommend it to anyone looking for a mid-level smartphone.
I feel like I’m just beginning to discover all that this device can do, so who knows, it may be another five years before the next upgrade.